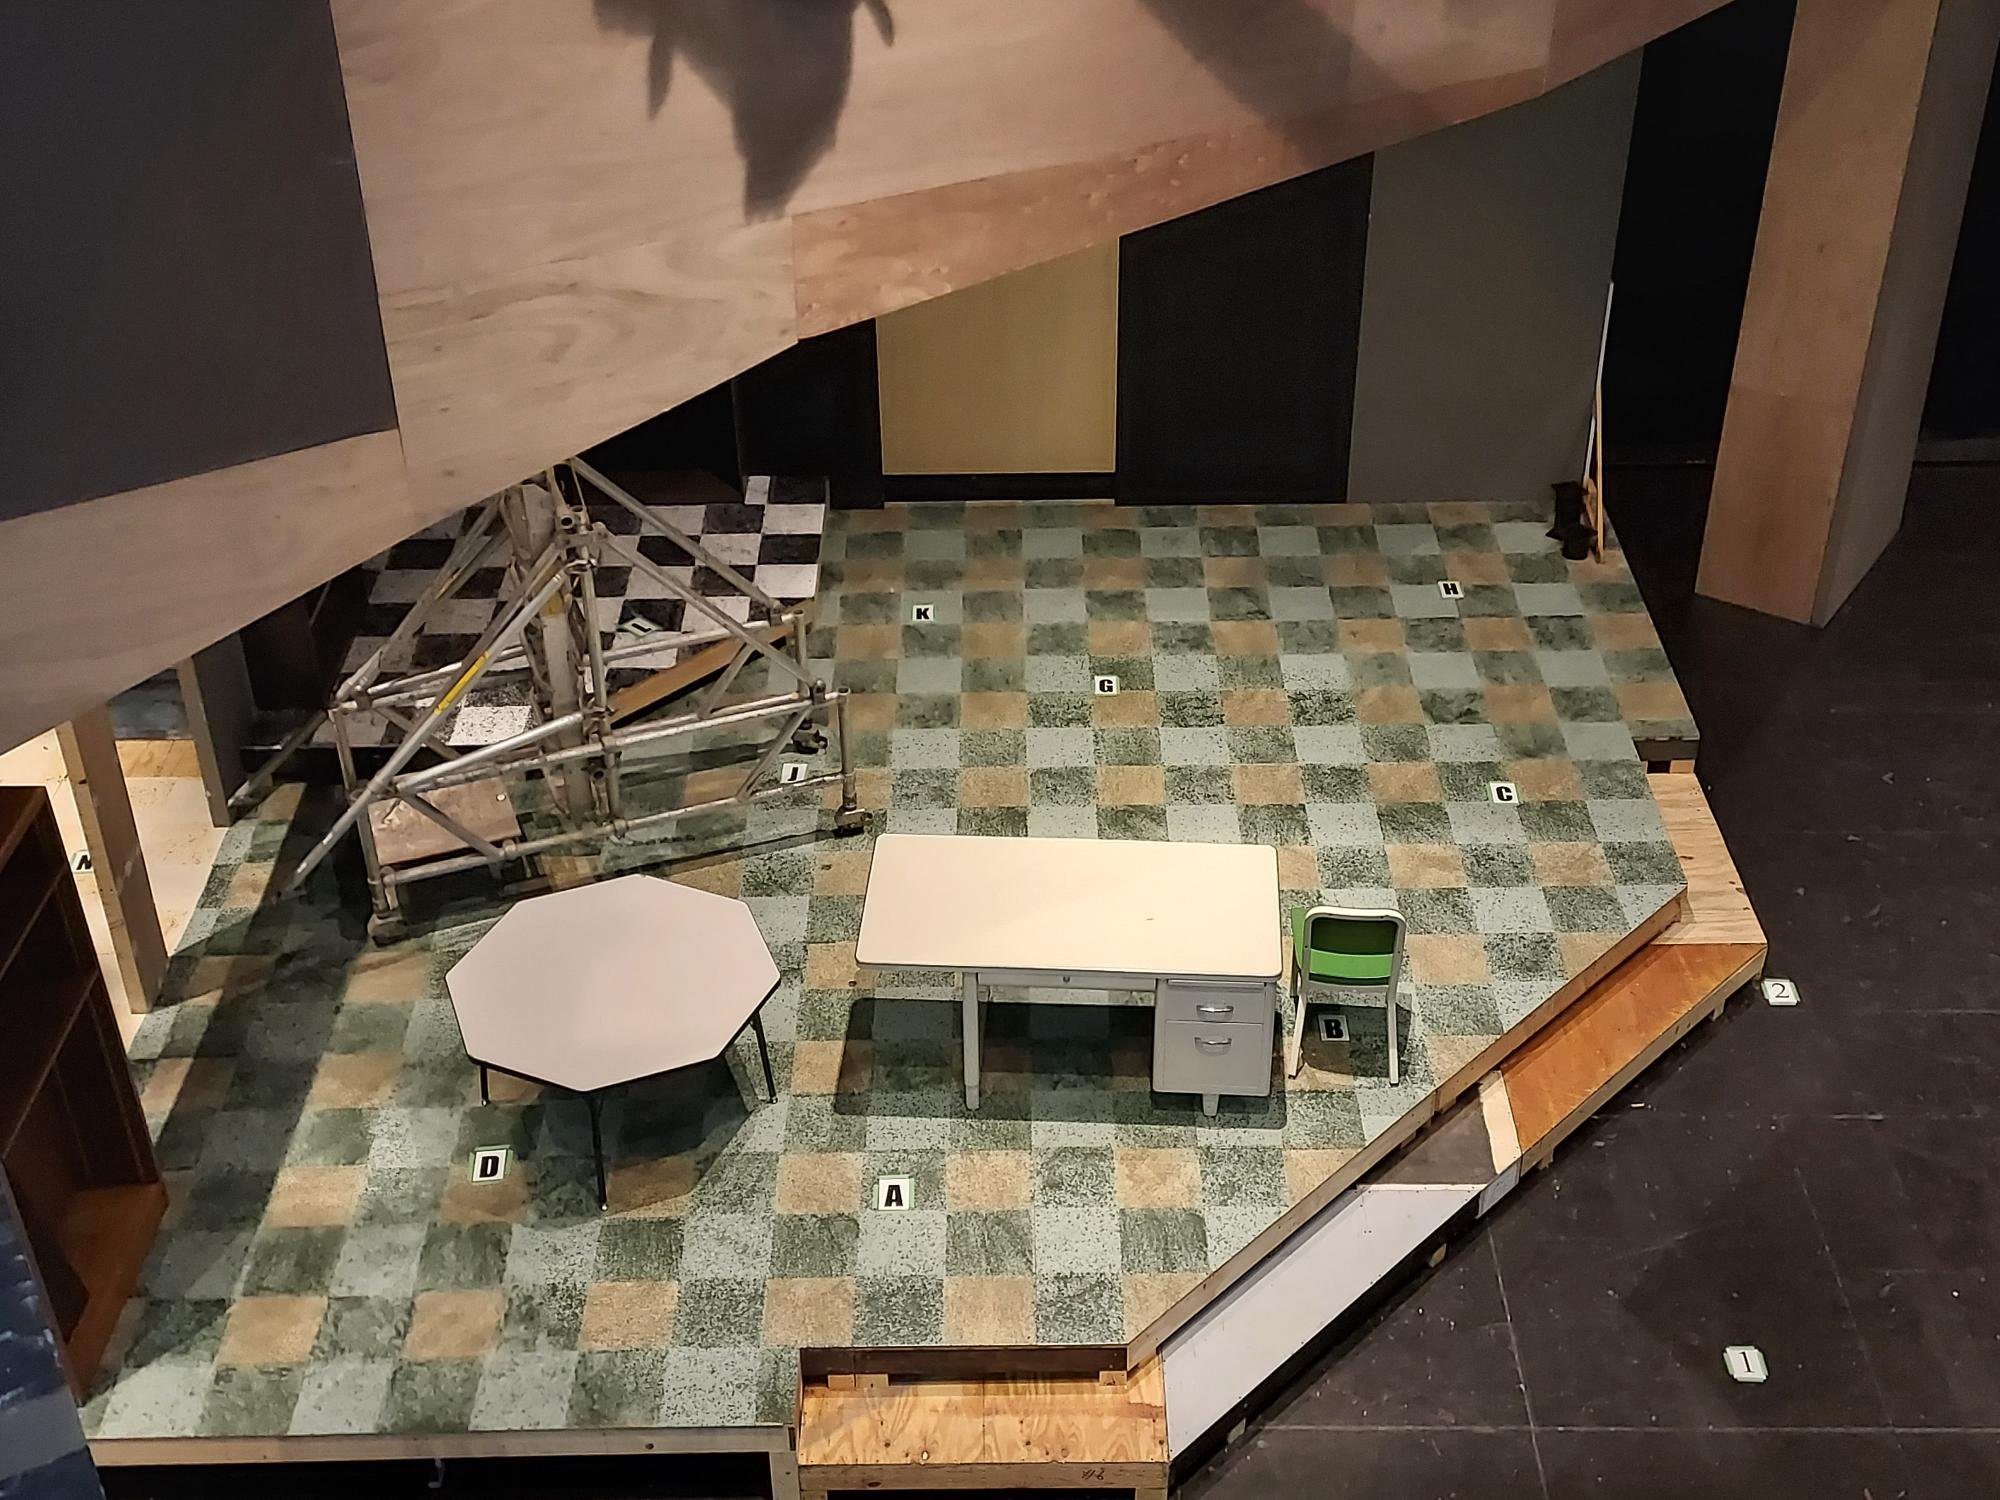
The floor elevation I was given for each area of the set

Because my technical director had done a floor like this before he taught me his technique with stencils and I mixed each color

This technique was done originally with garden sprayers but I found a hand spatter technique was more effective for our desired look

This was an areal view of the finished floor treatment. This was done in about 3-4 days

A schematic that was given to me so that I would know how many art panels would be made for the proscenium and for the scenic team to put them in the right places

This was the finished product! Each panel was lined with LED tape as well

There were two doors that were on the set that required a light treatment. I was actually given a real door as a sample that was the right look but too small for the set. I used a wet blend to create the right texture

This is a good reference that both doors looked identical though they were actually done by me and my assistant on different days!

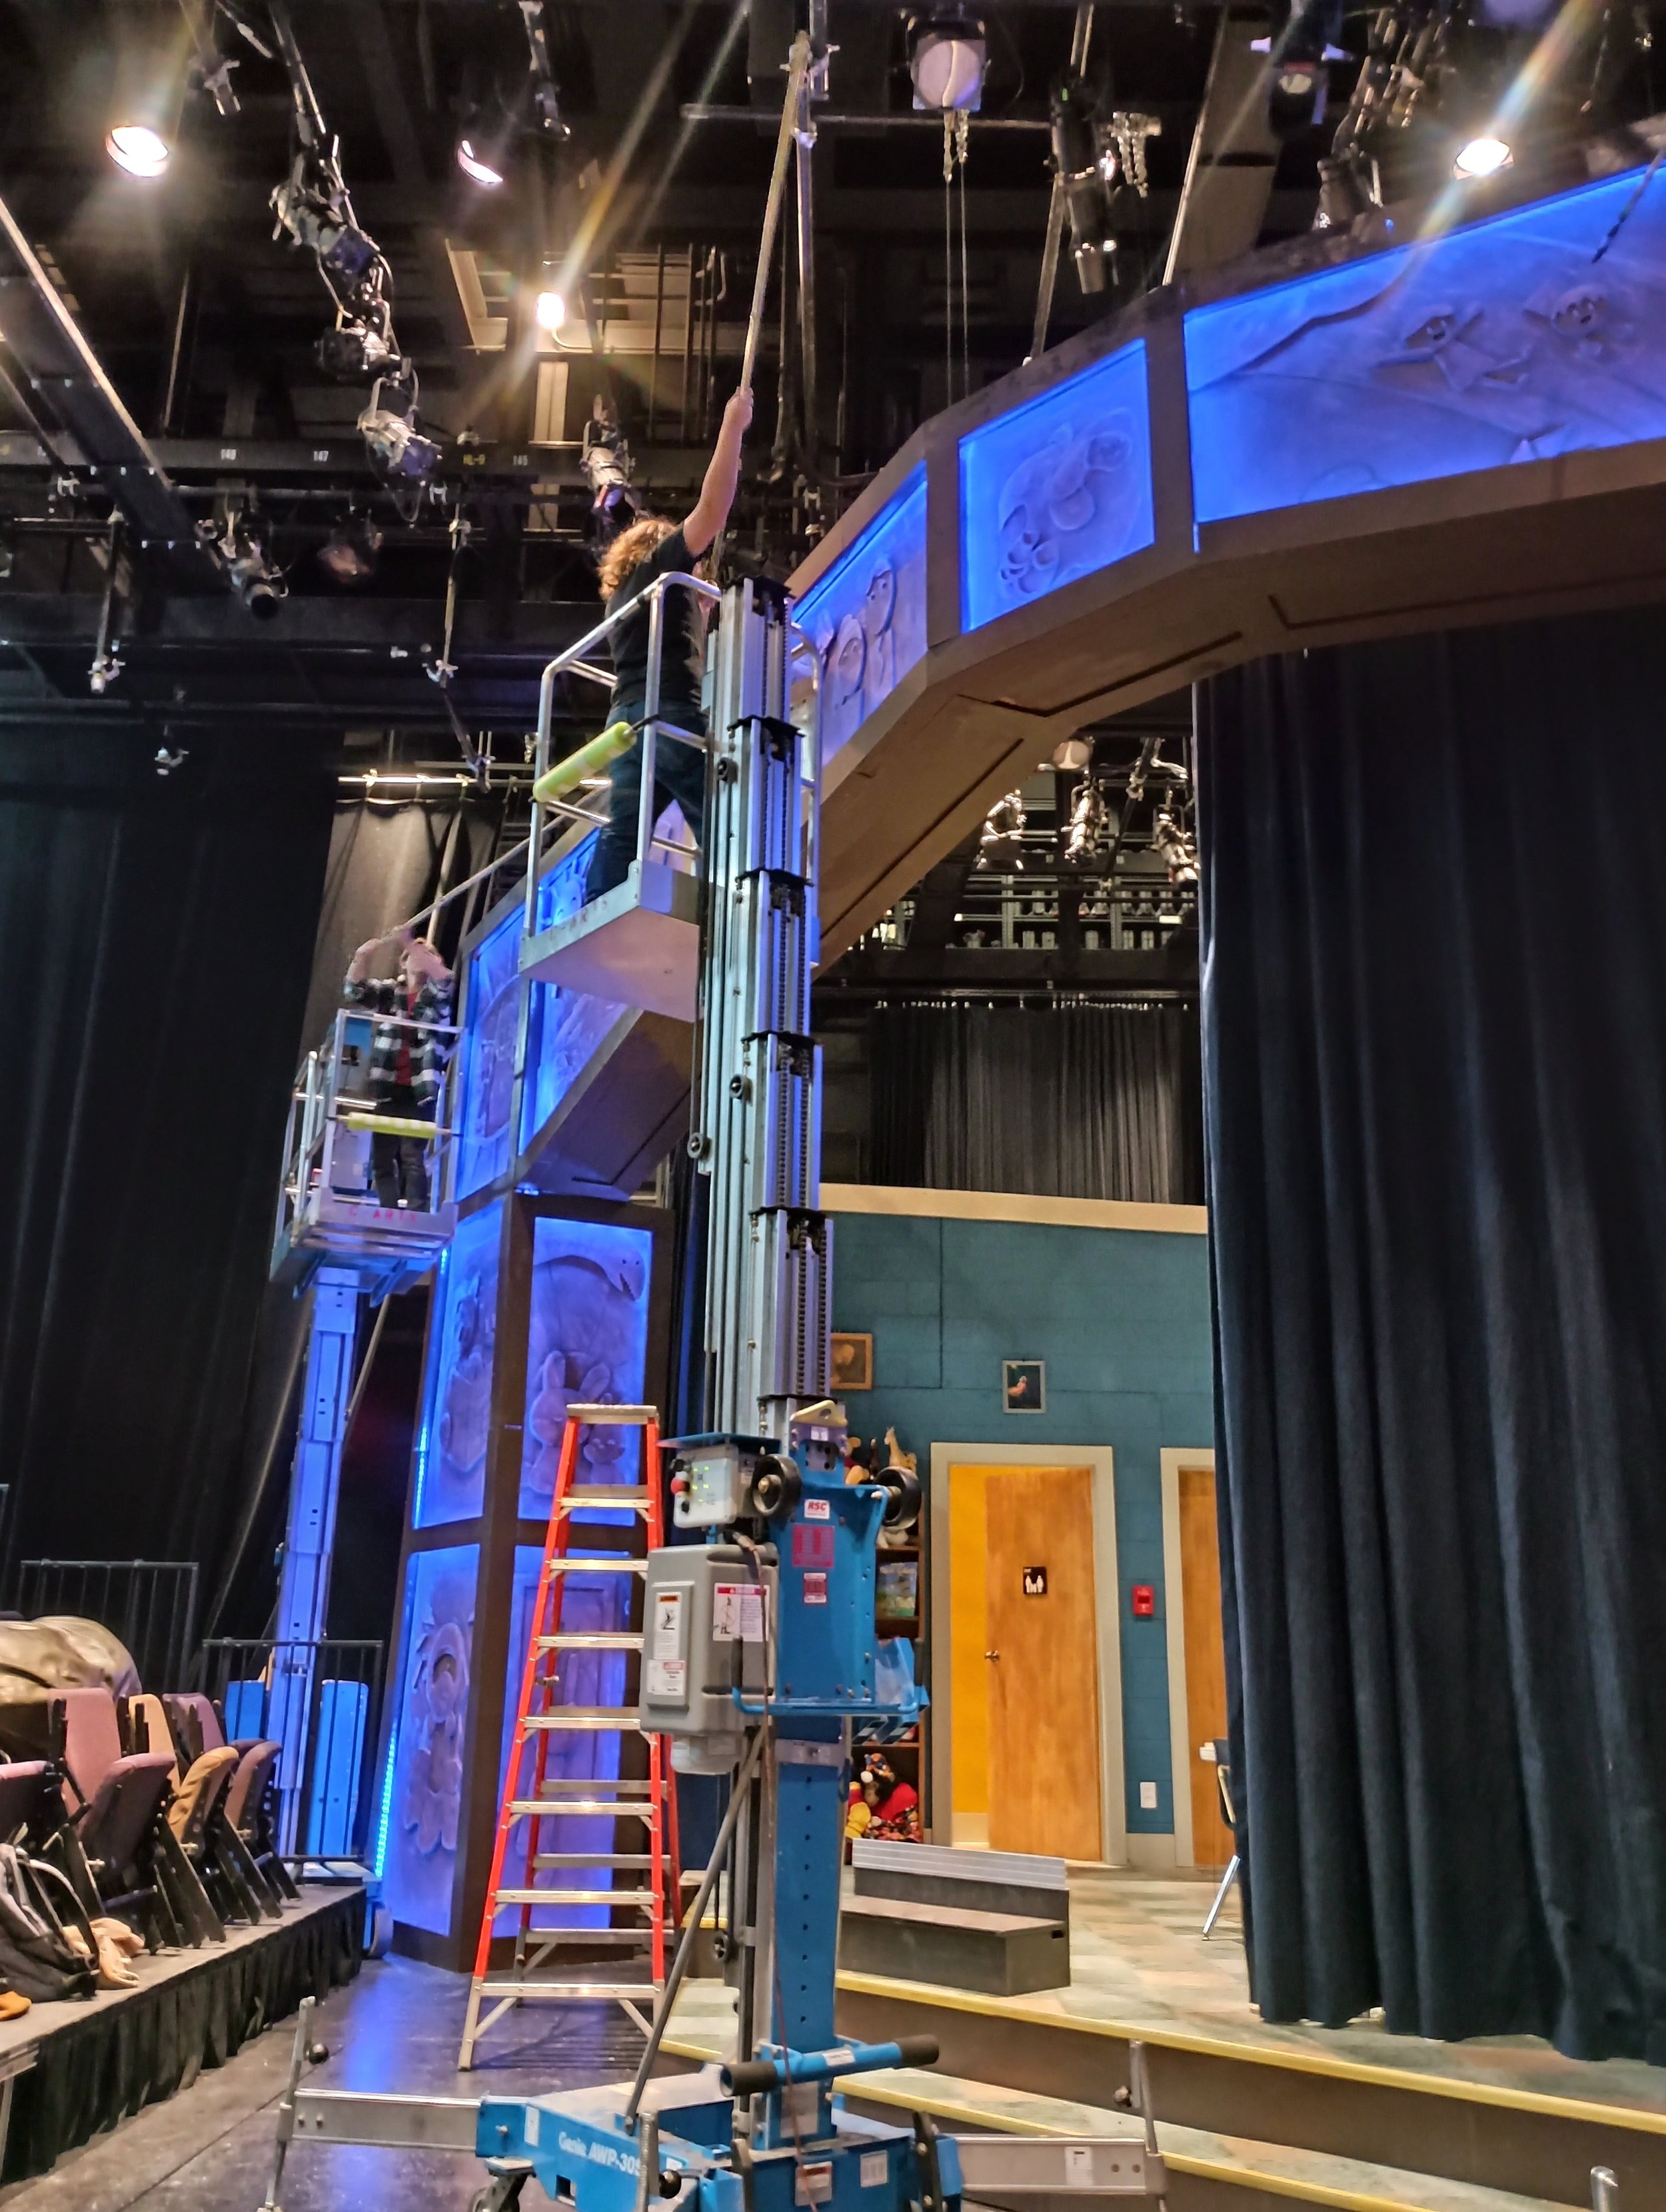
A photo for scale. The proscenium arch was huge and although I won't mention it here I painted many foam panels to become the brick background

Another wonderful example of scale

The set looked so beautiful when our lighting designer, Petr Jaros, had access to it!

The stone panels behind the window here are actually upside-down shingles that I painted with a green undertone and sponged a dark and light green to make a good stone texture. This was done in less than a day

The mini arch that was also featured on set was not painted by me although I did help the assistant scenic designer, Ali Larson, choose colors and outline her drawings!

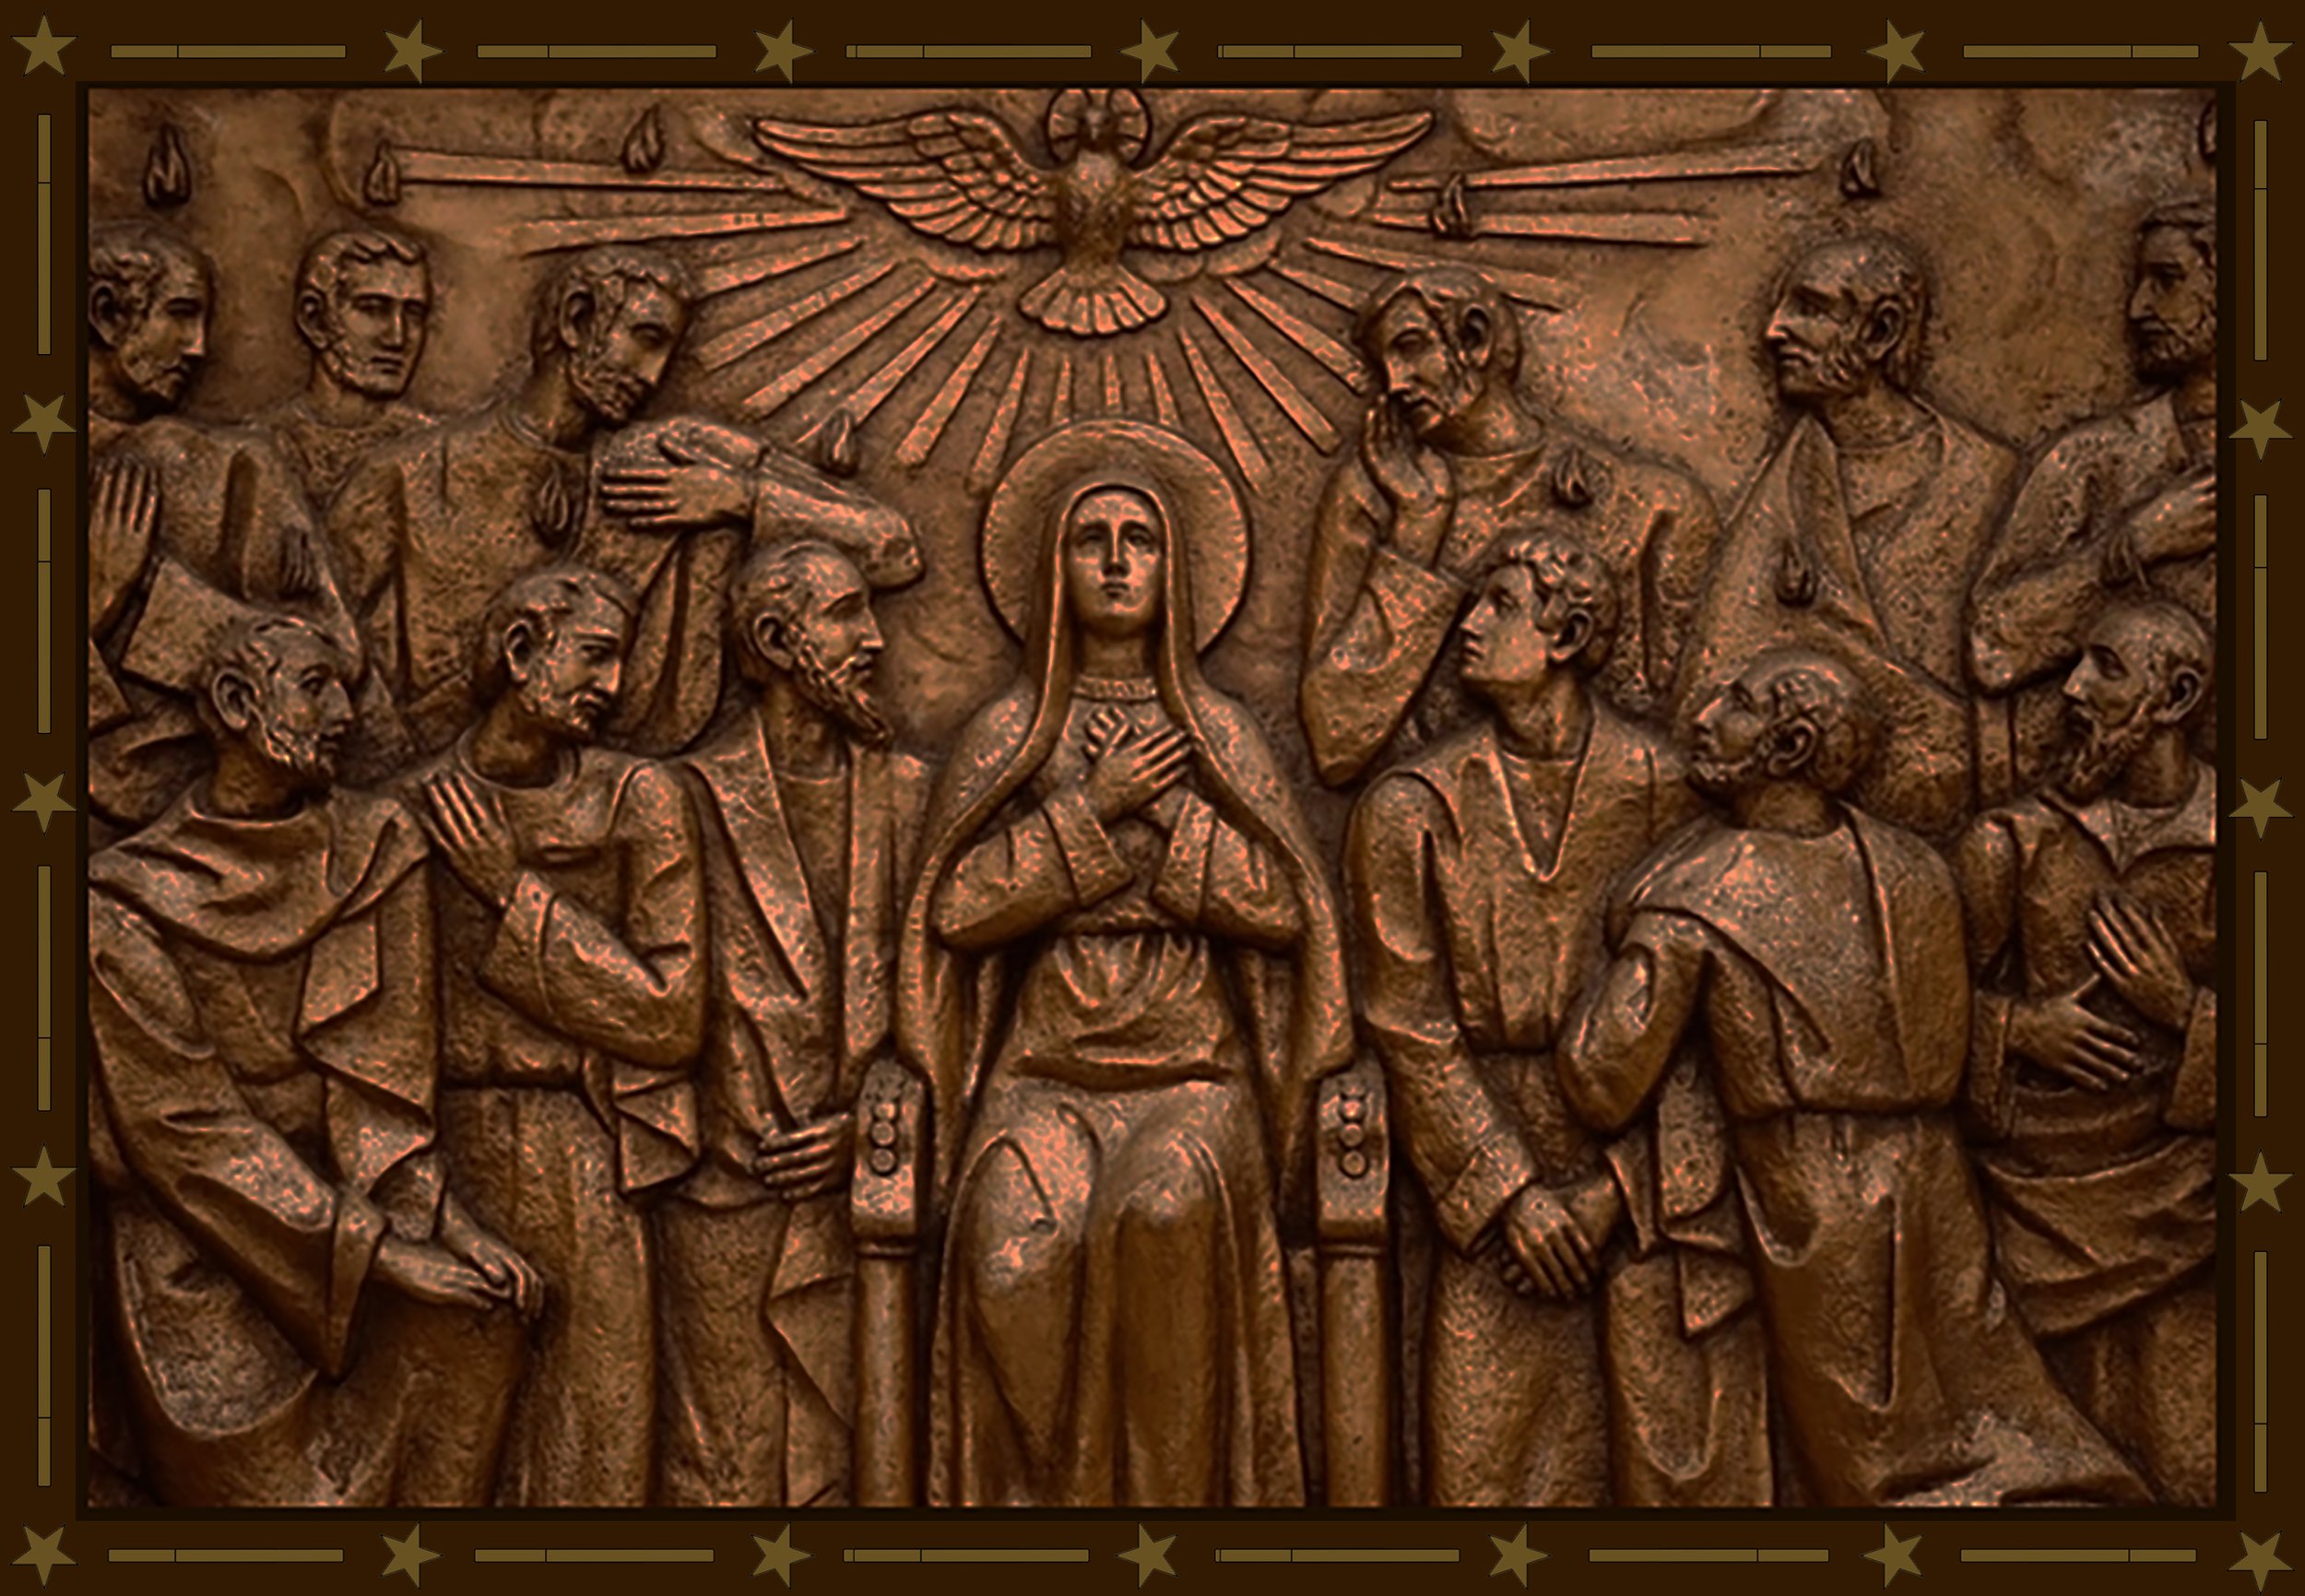
This was the reference I was given to create the bronze relief treatment that each foam panel had

This was what a panel looked like when I was finished with it!

This was the state of each panel directly off the CNC. The first step was to sand the edges and the imperfections

I then applied a base coat which had roof coating within it to save an extra step

The next step was to outline each raised section with a dark shadow color

Then a highlight was applied where light would naturally hit the raised sections of the piece, as well as some cross-hatching to add texture throughout

The final step was a sponging of the highlight color to blend the harsh lines along with some base color sponging to soften the lines. The assistant scenic designer came in at the end to add some final details with shadow as per her drawings

Because the set made the arch hard to reach we used genies and paintbrushes on sticks to provide final touch-ups. I had a few wonderful volunteers help me with this

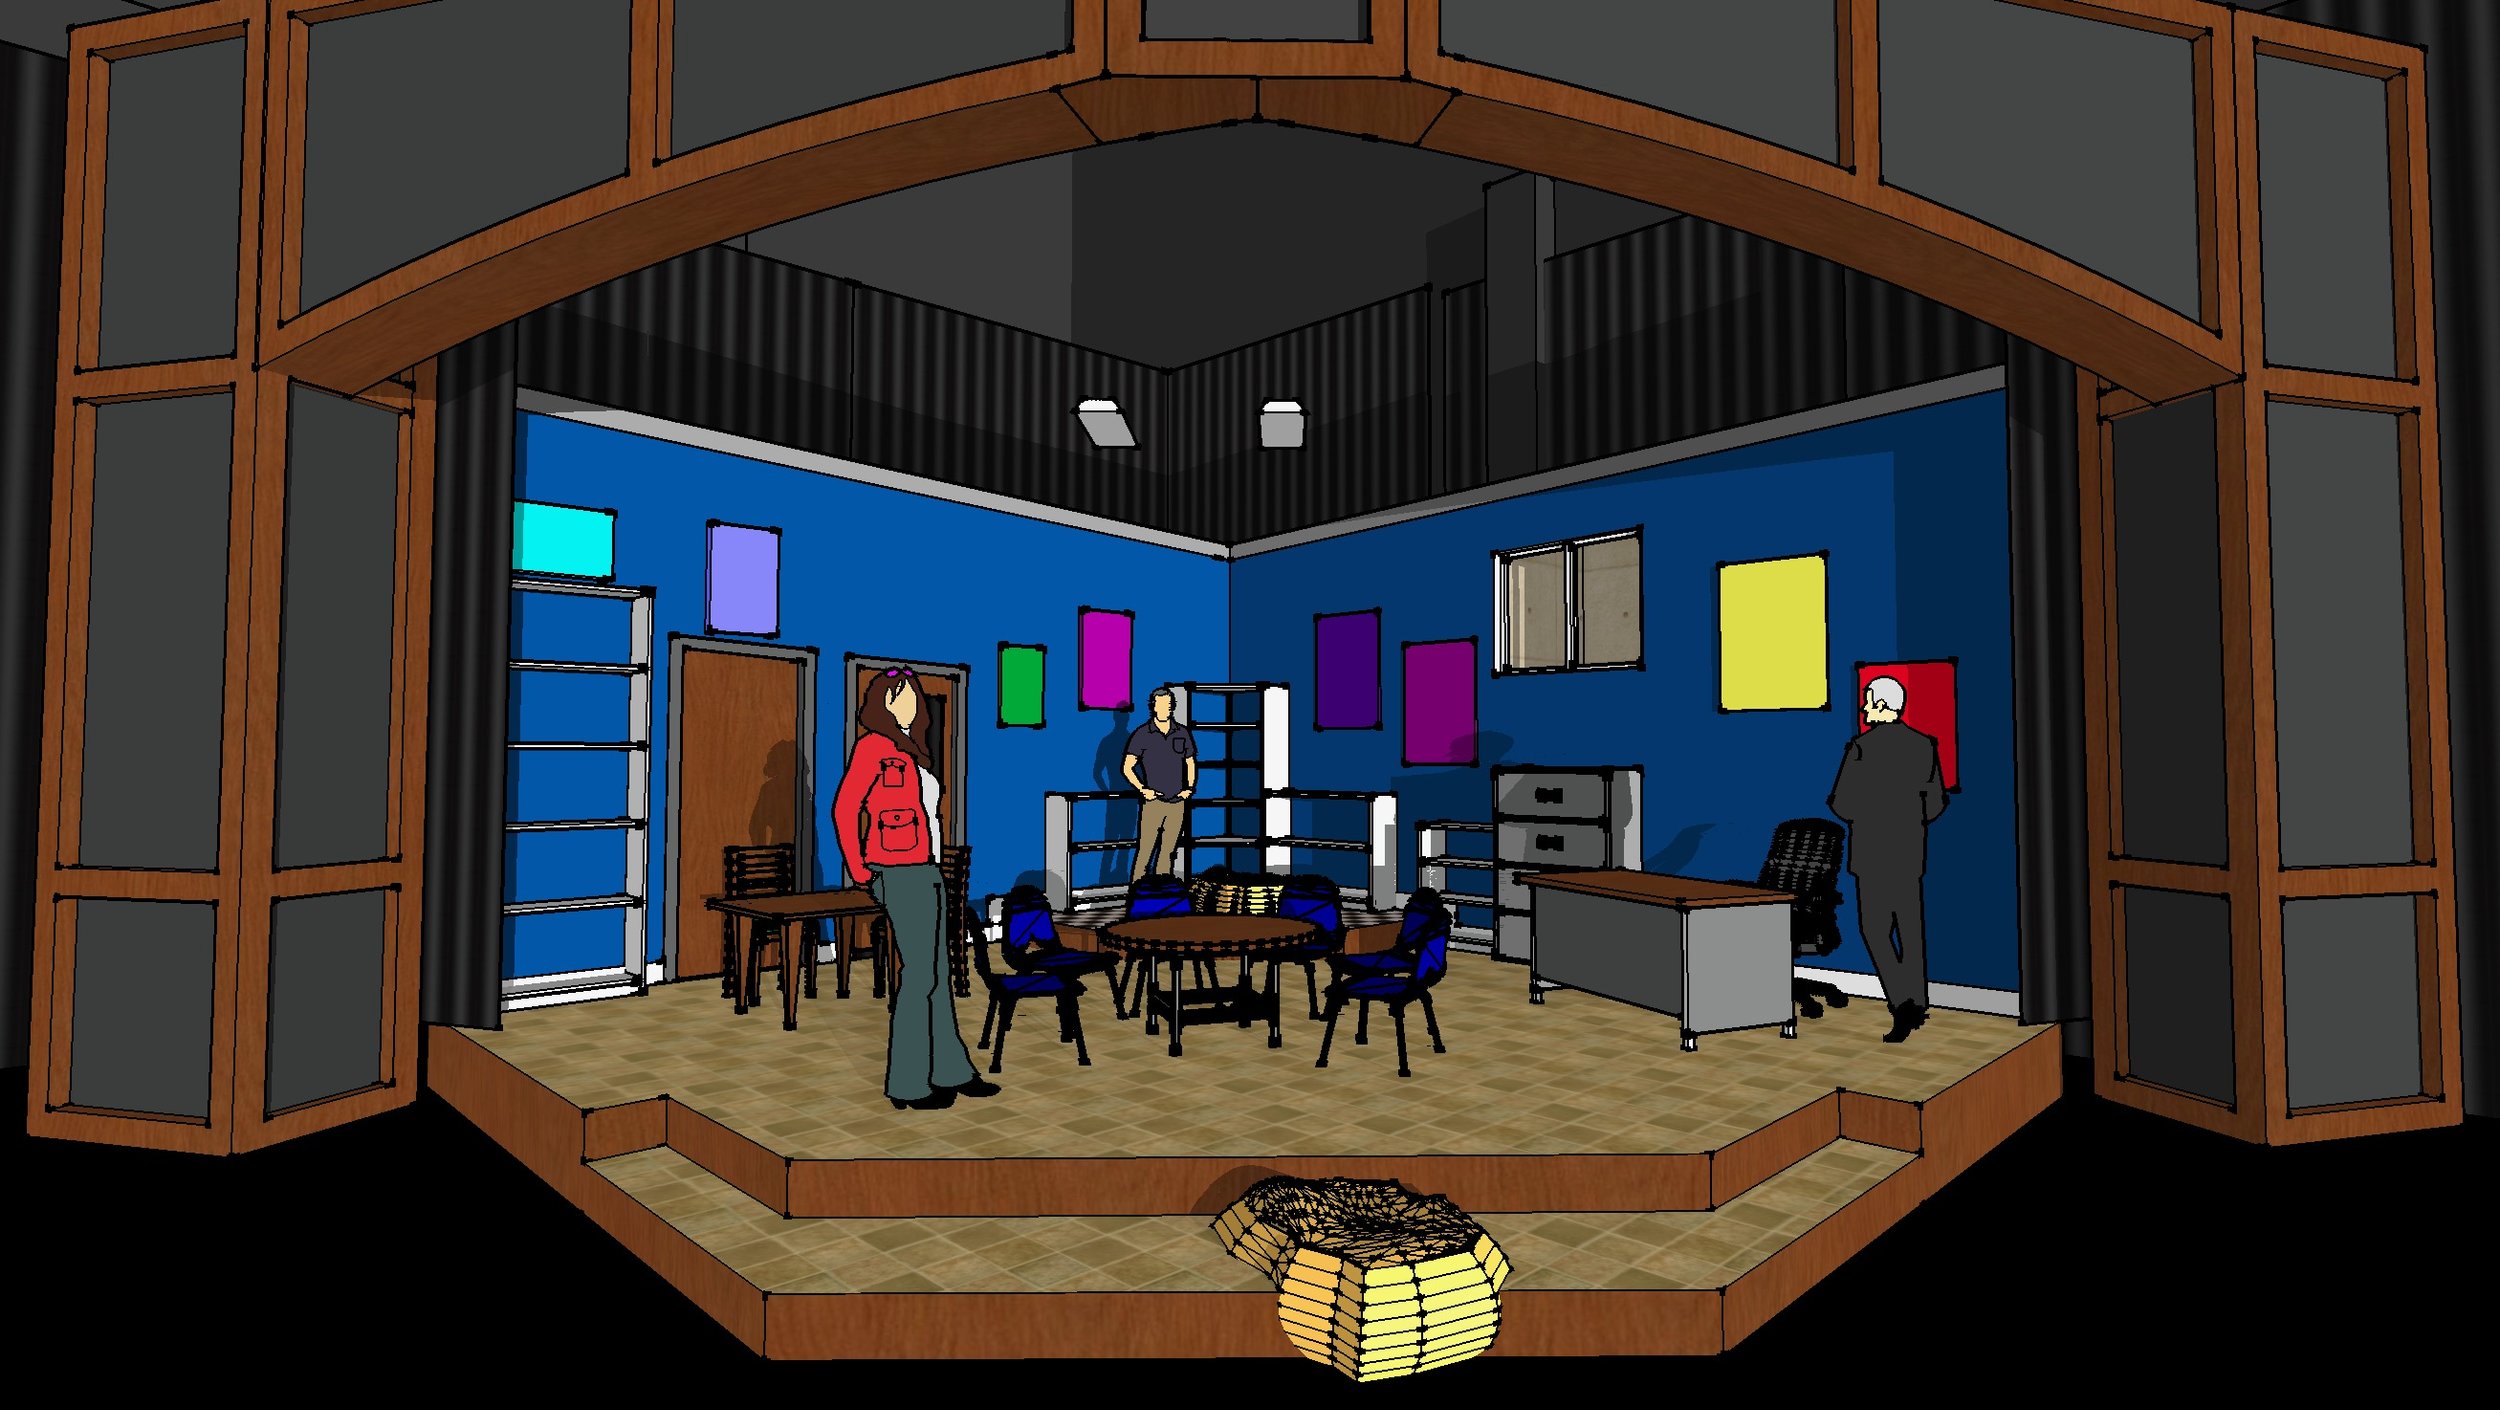
This was the rendering given to the production team for the set

And here is what the final set looked like! Truly a fun process that came out beautifully
Hand To God
University of Wisconsin-Parkside
Director
Cody Estle
Assistant Director
Octavio Hernandez
Stage Manager
Taylor Ireland
Scenic Designer/Technical Director
Jody Sekas
Costume Designer
Leslie Vaglica
Lighting Designer
Petr William
Sound Designer
Kevin Gray
Props & Puppets Designer
J Lofty
Hair & Makeup Designer
Jade Jordan
Violence & Intimacy Director
Christopher Elst, SAFD, IDC
Scenic Charge Artist
Maggie Jay
Puppertry Consultant
AJ Magoon
